Everything You Need to Know About At-Home Waxing Just in Time for Summer
Growing up in the ’90s, I was an avid viewer of the iconic television show, Friends. Ever since I watched the episode, “The One with the Morning After,” I have always wanted to try at-home waxing. If you need a reminder about what this episode was about, let me jog your memory.
In this episode, Ross and Rachel have an epic fight arguing about whether or not they were technically on a break when Ross slept with another woman. As this epic fight lasts until 3 am, Monica, Phoebe, Chandler, and Joey find themselves unwilling to leave Monica’s bedroom, which could potentially interrupt the fight. As they grow hungrier and hungrier waiting it out, the four friends are forced to eat the wax from the at-home leg waxing kit Monica and Phoebe had been using earlier in the episode. When Monica and Phoebe first try waxing at home way back at the start of the episode, they scream out in pain as the waxing strip is swiftly removed from their legs, which always had me wondering, “Does at-home waxing really hurt that bad?”
Roughly two decades later, I am finally ready to give at-home waxing a try, which begs the question, “Does anyone have any tips for first-time waxing at home?” Seriously. I need any and all at-home waxing tips I can get. Lucky for me, I was able to connect with some at-home waxing experts to get the low down on everything you need to know about at-home waxing, just in time for the summer season.

Tips for first-time waxing at home
1. Find the right at-home waxing kit for the area you’re waxing
There are no shortages of at-home waxing kits on the market today, which can make shopping a little daunting. First, consider what area of the body you will be waxing. Bikini area, bum (hey, no shame in that game), legs, underarms. Pick your poison. Knowing what area of the body you want to wax is paramount to finding the right at-home waxing kit for you. For the purpose of this article, we will primarily be discussing at-home waxing tips for legs.
Just like shopping for food and more mindful skincare products, look for at-home waxing kits that use natural formulas and are free from added colors, chemicals, and fragrances. Not only is this better for your body, but it will also decrease the chances of any skin irritation that may occur.
2. Read the instructions
Every at-home waxing kit comes with a standard set of instructions – read them. Plain and simple. The instructions are there for a reason and should not be overlooked.
As you thoroughly read through all of the instructions, anxiety may begin to set in, but don’t panic. Sometimes the pain we expect to come from at-home waxing is caused by the anxiety we have surrounding at-home waxing and what we have seen in the media. (I am looking at you, Monica Geller). Take deep breaths and relax.
3. Avoid these 4 common at-home waxing mistakes
At-home waxing is pretty straightforward, but there are a few common at-home waxing tips to avoid:
- Do not try to be thrifty and reuse the same piece of wax twice.
- Do not wax any areas that are visibly irritated.
- If wax residue remains on the skin after removal, remove the leftover wax with baby oil or wax removal wipes. Do not use water.
- Remove any stray hairs with a pair of tweezers.
4. Make sure the hair is the right length
Before booking a professional waxing appointment, it is standard to grow your hair out to at least ⅛ inch (or about the length of a grain of rice). The same rules apply to at-home waxing. If the hair is longer than this, you may want to give it a little trim prior to at-home waxing.
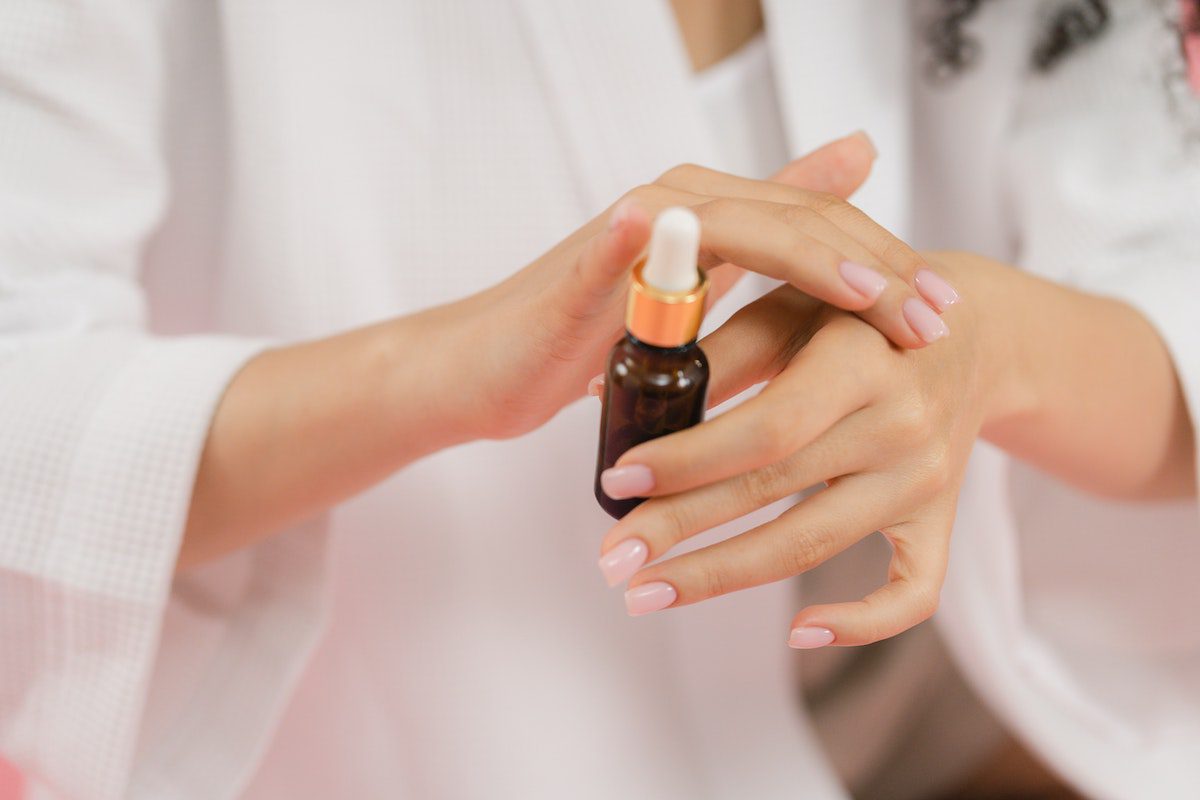
5. Moisturize the skin
Kathryn McDavid, CEO of Editor’s Pick, a beauty and wellness company, explains that although moisturizing after a wax may make the most sense, it is just as important to moisturize before an at-home wax.
“Moisturize the skin as much as possible. The dryer the skin, the more the hair is going to hurt coming out. The softer and more hydrated your skin is, the easier the hair will come out, which means less pain. Moisturize and hydrate from the outside and inside, which means use a high-quality moisturizer with no irritants or chemicals. Also, be sure to drink plenty of water.”
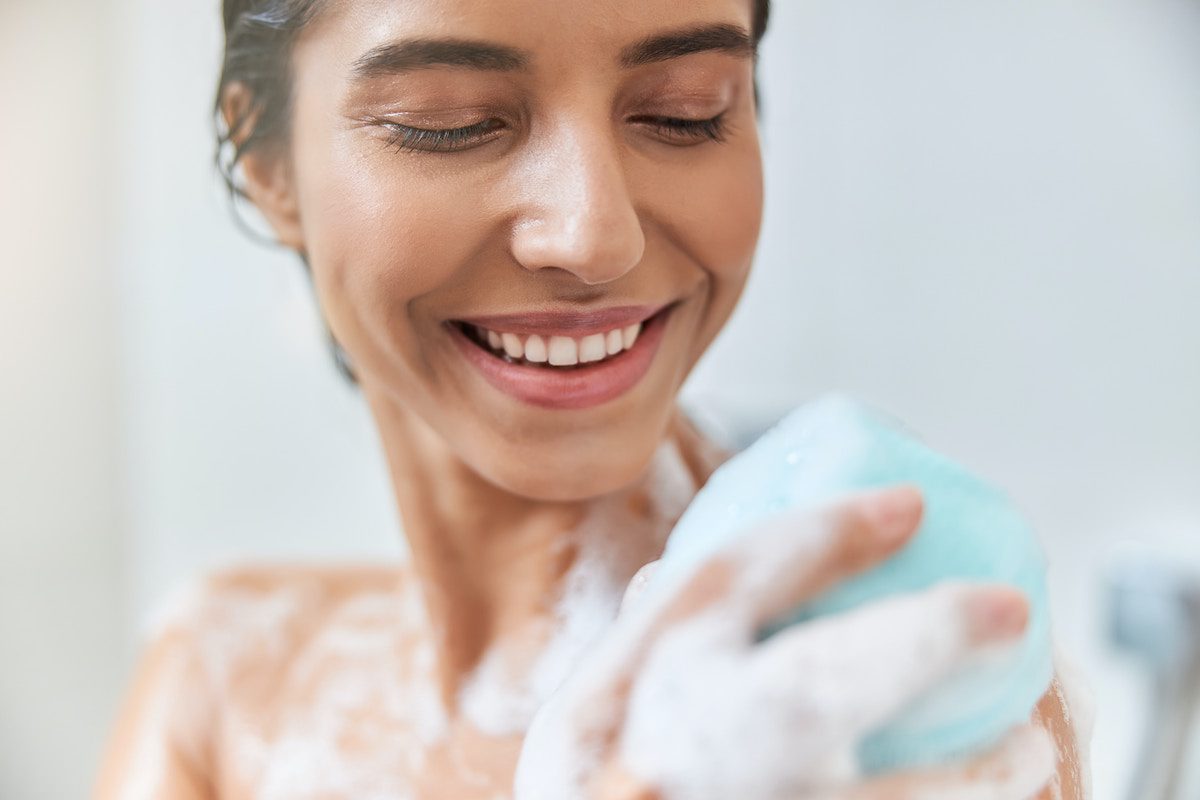
6. Exfoliate the skin
Similar to professional waxing, you will want to prep the skin through exfoliation. When waxing at home, it is important the skin be free and clear of dirt, moisturizers, and oils. Enter exfoliation. A solid scrub down removes dead skin cells that may block the hair follicle and potentially cause ingrown hairs.
7. Be careful of the bikini area
Bikini and Brazilian waxes are tricky to navigate at home—no surprise there—but they are not impossible. Make sure your waxing kit is specifically suited for bikini and Brazilian waxes as these formulas will be gentler on the skin.
Find a position you are comfortable in and provides good visibility. Work in small sections and start from the outer areas, working your way in towards the more sensitive areas. Always remove the wax close and parallel to the skin in the opposite direction of hair growth.
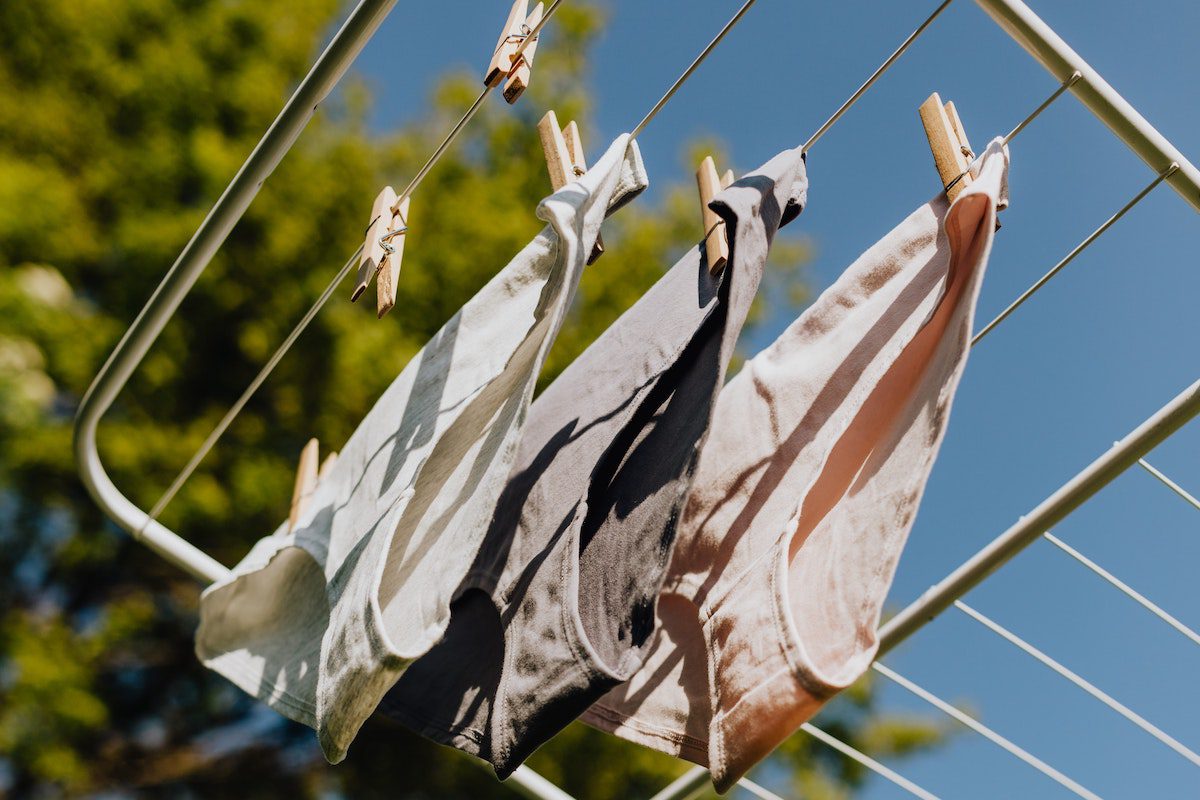
8. At-home waxing aftercare
Just because the last waxing strip has been removed does not mean hair care is complete. Be sure to sport soft fabrics, like cotton, to avoid any skin irritation. Then, after 24 hours, exfoliate the skin again to avoid any pesky ingrown hairs from popping up. Continue to exfoliate a few times a week to prevent ingrown hairs.
Final tips for first-time waxing at home
If those at-home waxing tips weren’t enough, here are some more from Genn Shaughnessy, Master Stylist:
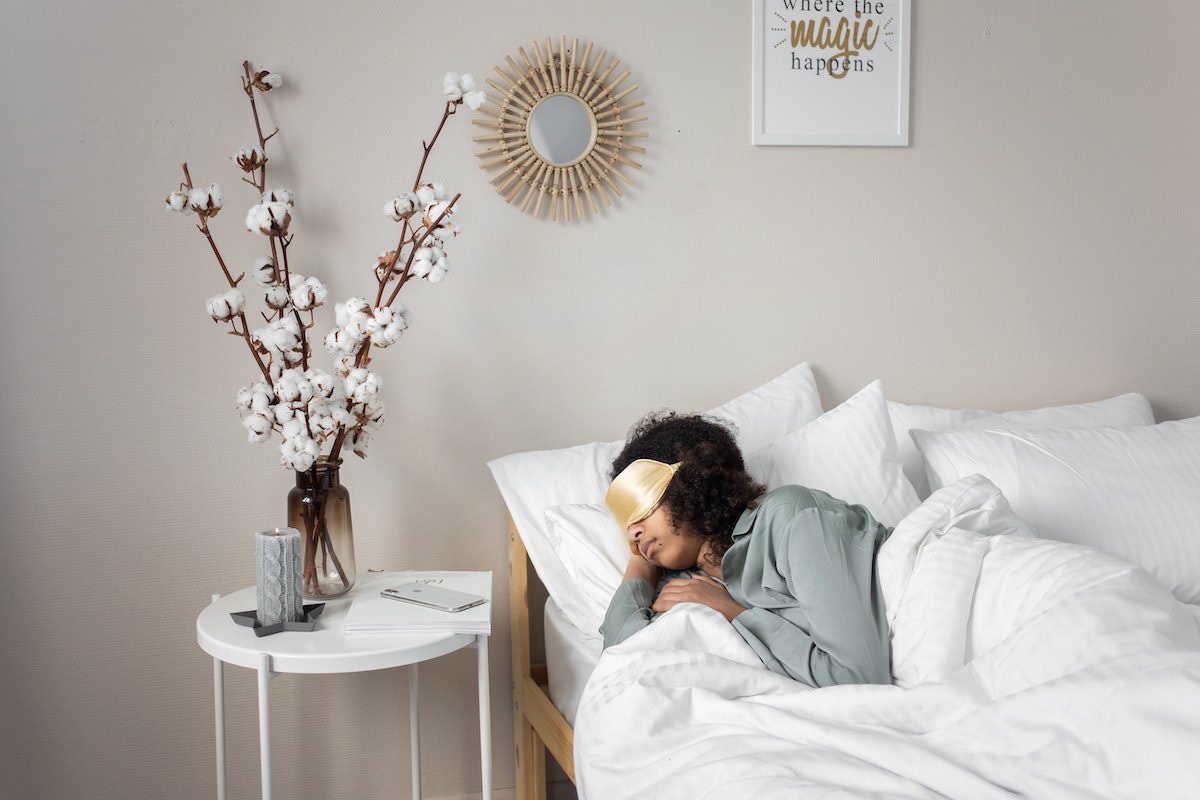
- Avoid waxing during your menstrual cycle as it is more painful. The same goes for caffeine. Being amped up on caffeine or any stimulant for that matter makes you more sensitive to pain.
- Never wax in a rush.
- Never wax if you can’t see. Good lighting is super important.
- Never wax dirty, irritated, or broken skin.
- Never wax moles.
- If you have sensitive skin, use sensitive skin wax.
- Always pull the skin to tighten it when you apply wax in the direction that the hair grows, and pull the wax the opposite way very quickly to pull it out. Remember the tighter you pull the skin when you rip the wax off, the less it hurts.
Now that you (and I) know all of the in’s and out’s to at-home waxing with these tips for first-time waxing at home, it is finally time to order my at-home waxing kit and cue up an episode of Friends. I’m thinking “The One with the Morning After.”