Make This Natural DIY Toner – Your Skin and Wallet Will Thank You
I’m a sucker for natural beauty products. Since moving over to a more natural regimen (and drinking more water à la fellow writer and friend, Kristen) I have noticed two things: (1) my skin has never looked better and (2) unfortunately, my wallet has never felt lighter. Now that I’m convinced that the natural route is the way to go, I’m trying out how to keep my costs under control.
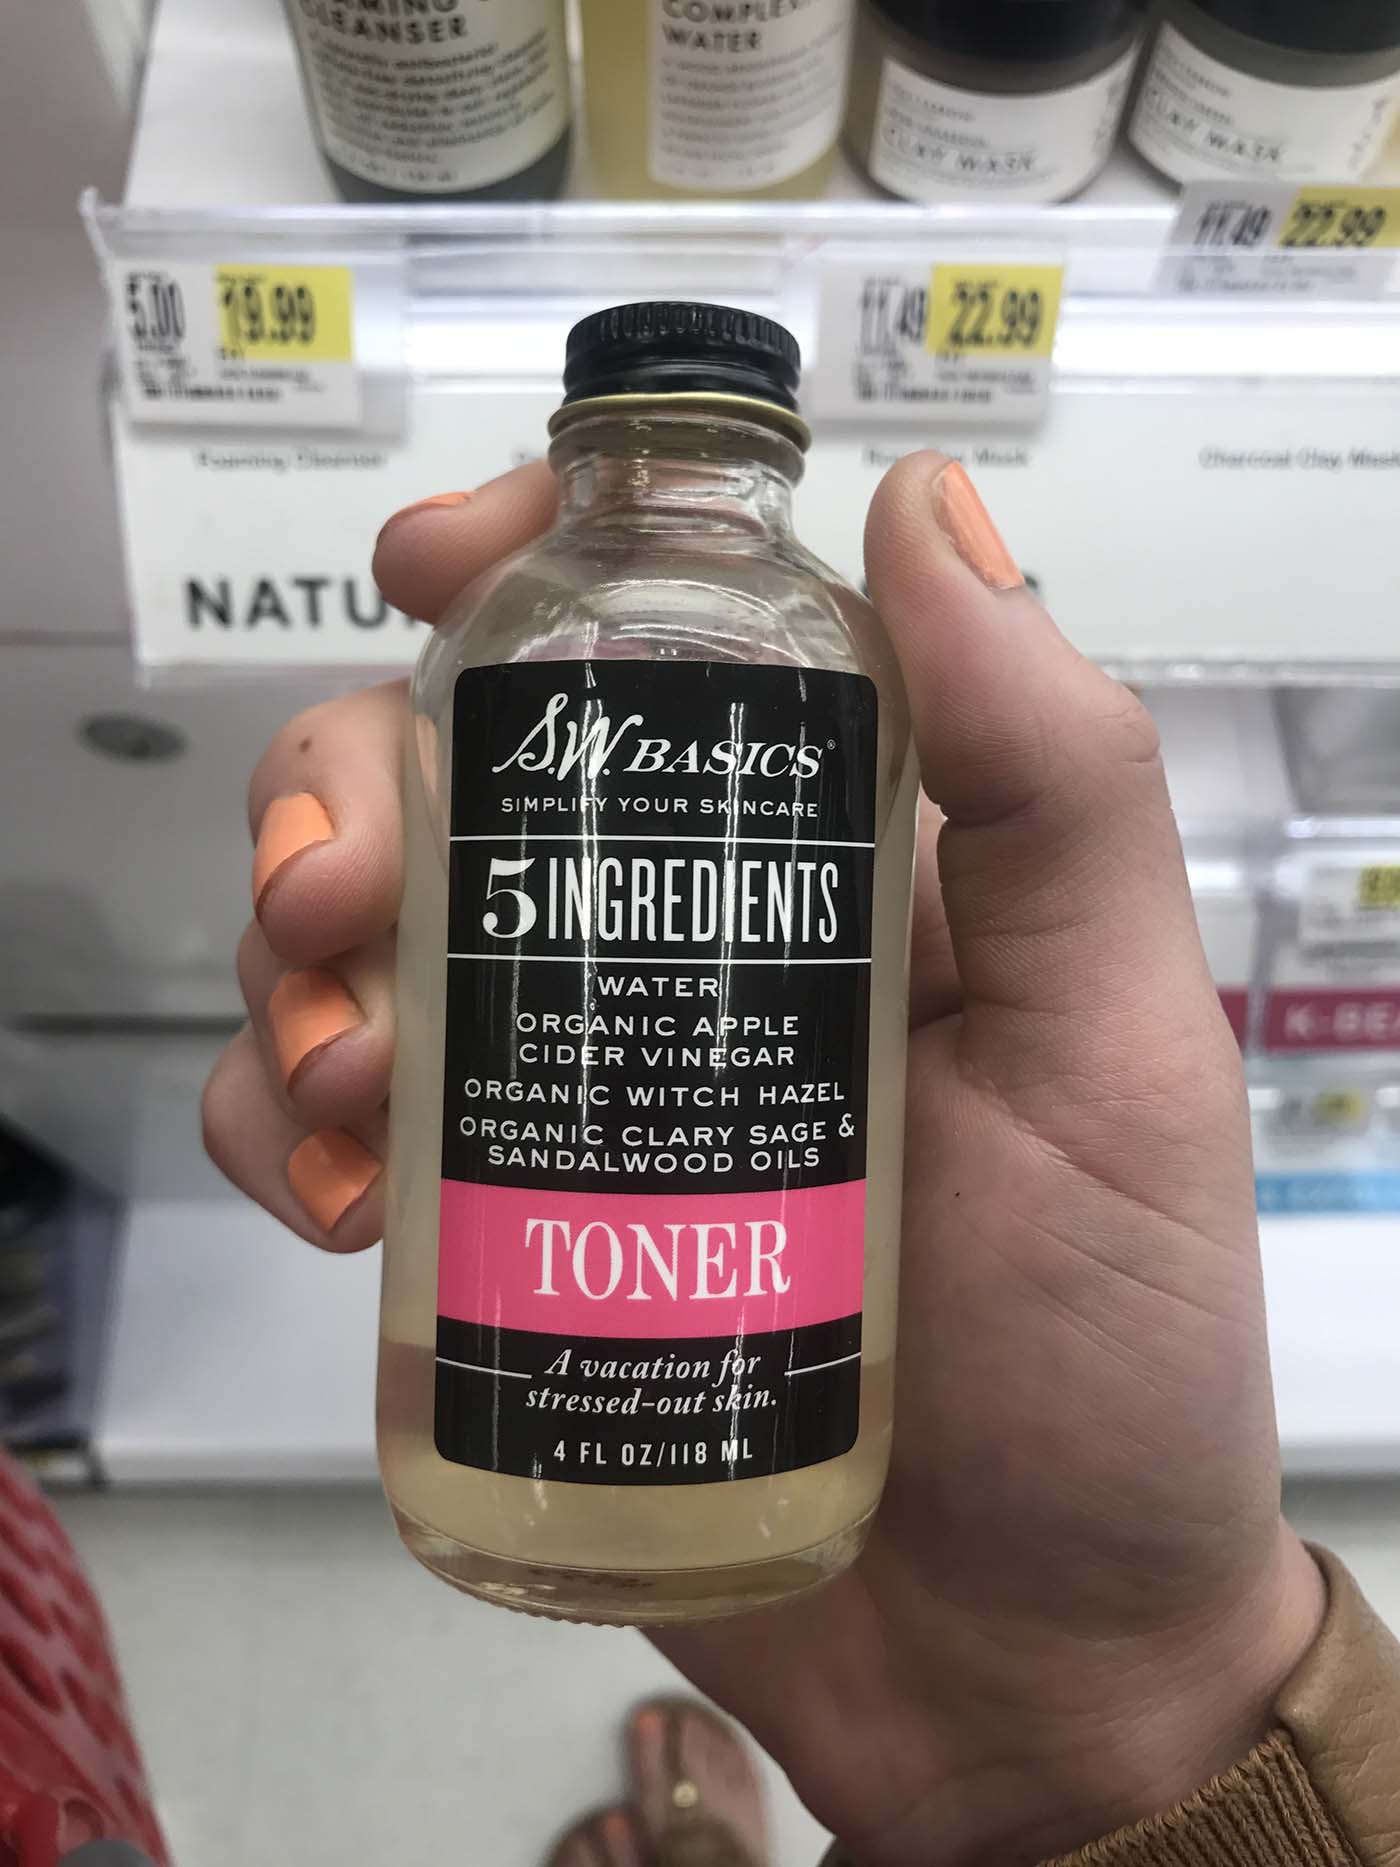
I ran out of toner recently, and I’ve been using a simple four-ingredient toner from Target by a brand called S.W. Basics. When I went to replace it, I was struck by the price. It’s a great product, but surely there’s a way to cut this $22 cost down to something a little more reasonable – especially since it brags about having only four different ingredients.

With a little Google searching on my phone, some time to burn and a good amount of willpower (to linger around Target without buying #ALLTHETHINGS), I figured out a way to replace the toner at 1/24th of the price (no joke).
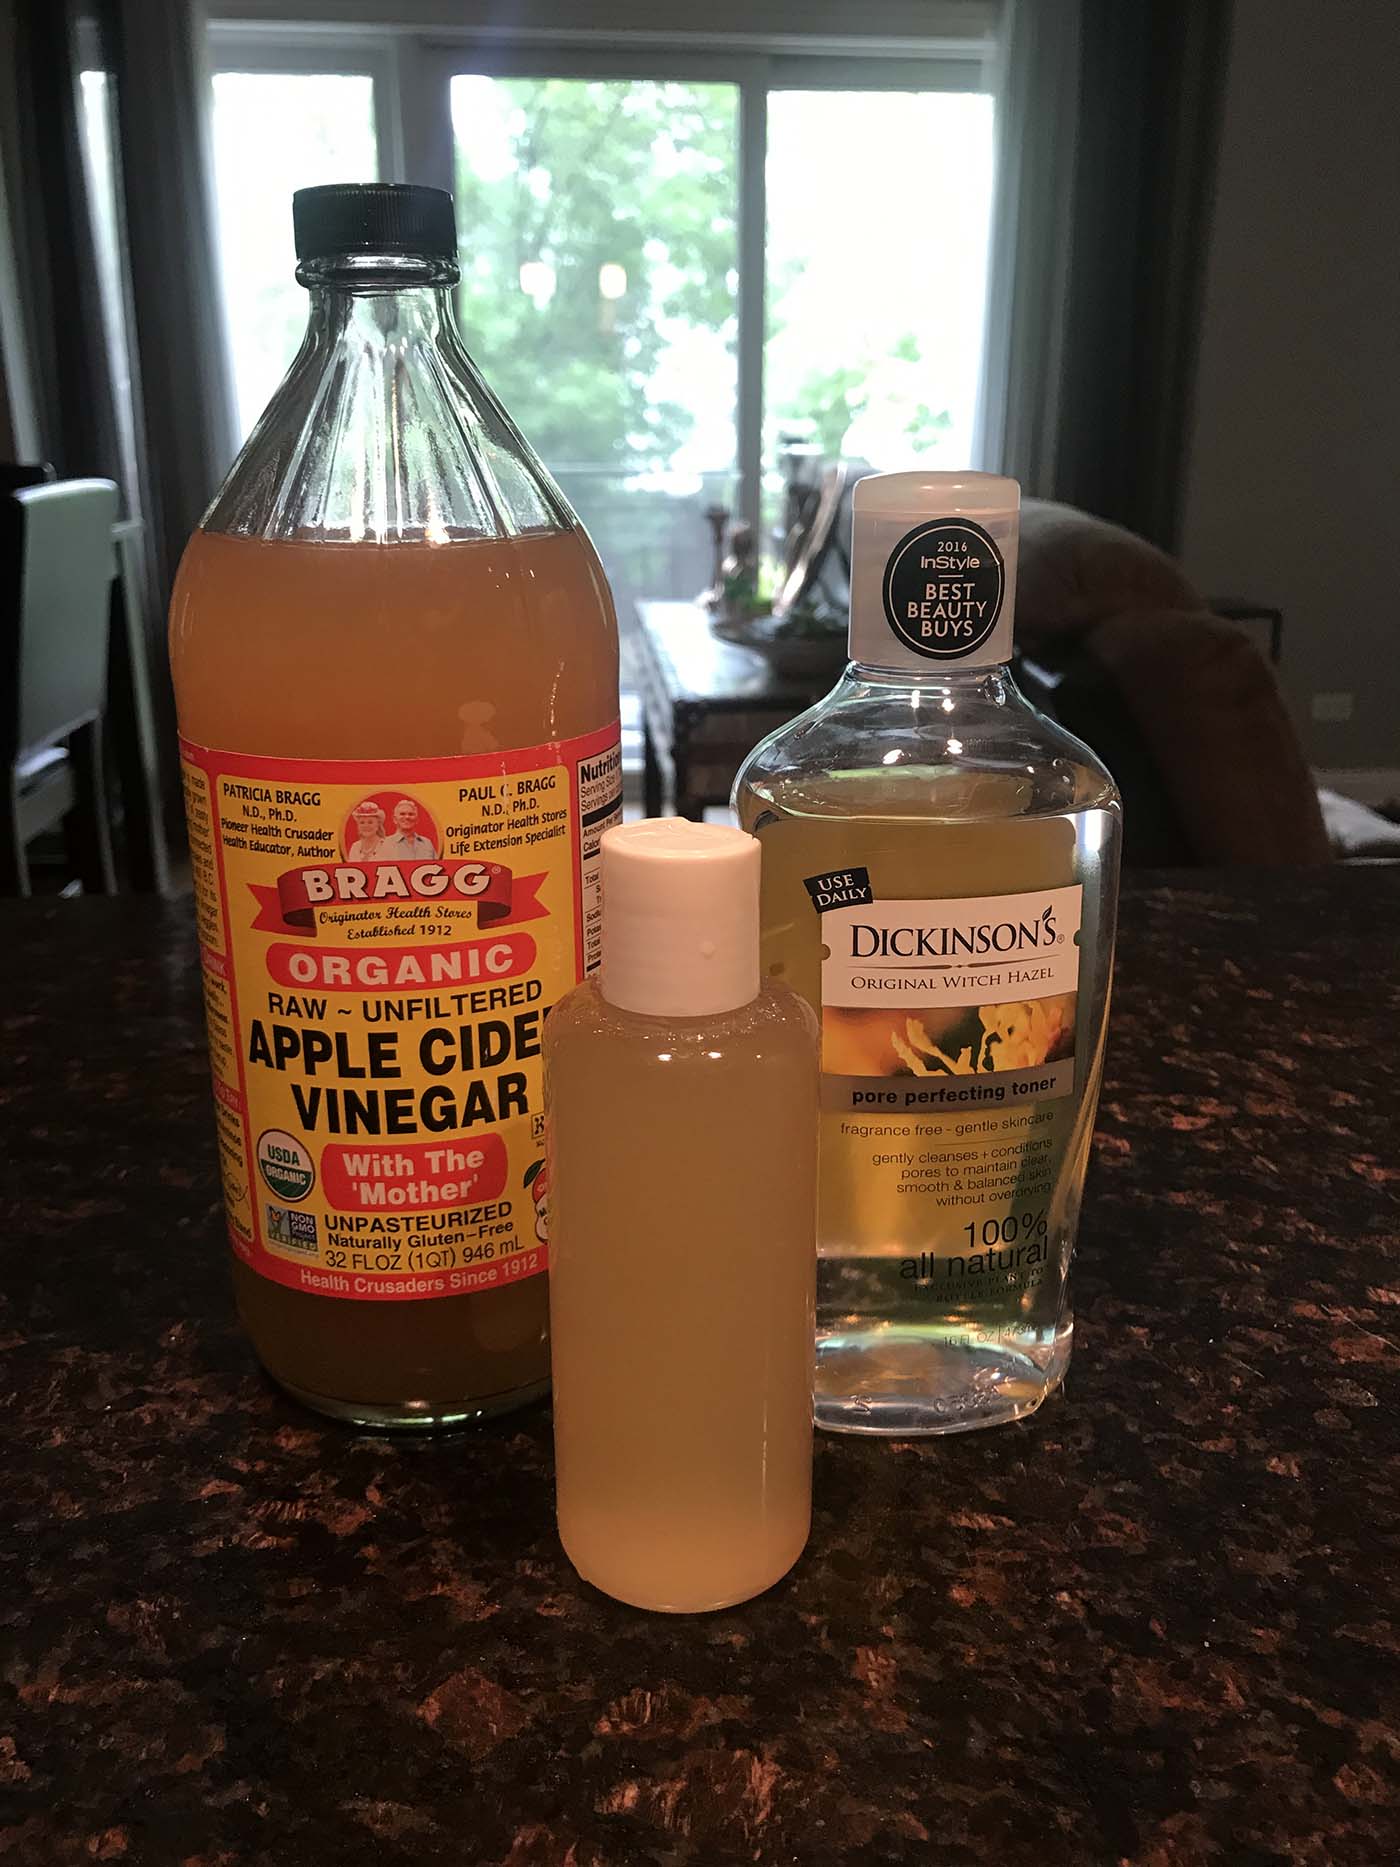
The toner that I needed to replace was 4 ounces and lists 4 ingredients: water, organic raw apple cider vinegar, witch hazel and essential oils (presented in the order of amount in the bottle, largest to smallest).
Step One: Find a container to put your DIY toner in.
I found a $0.99 plastic bottle to do the trick.
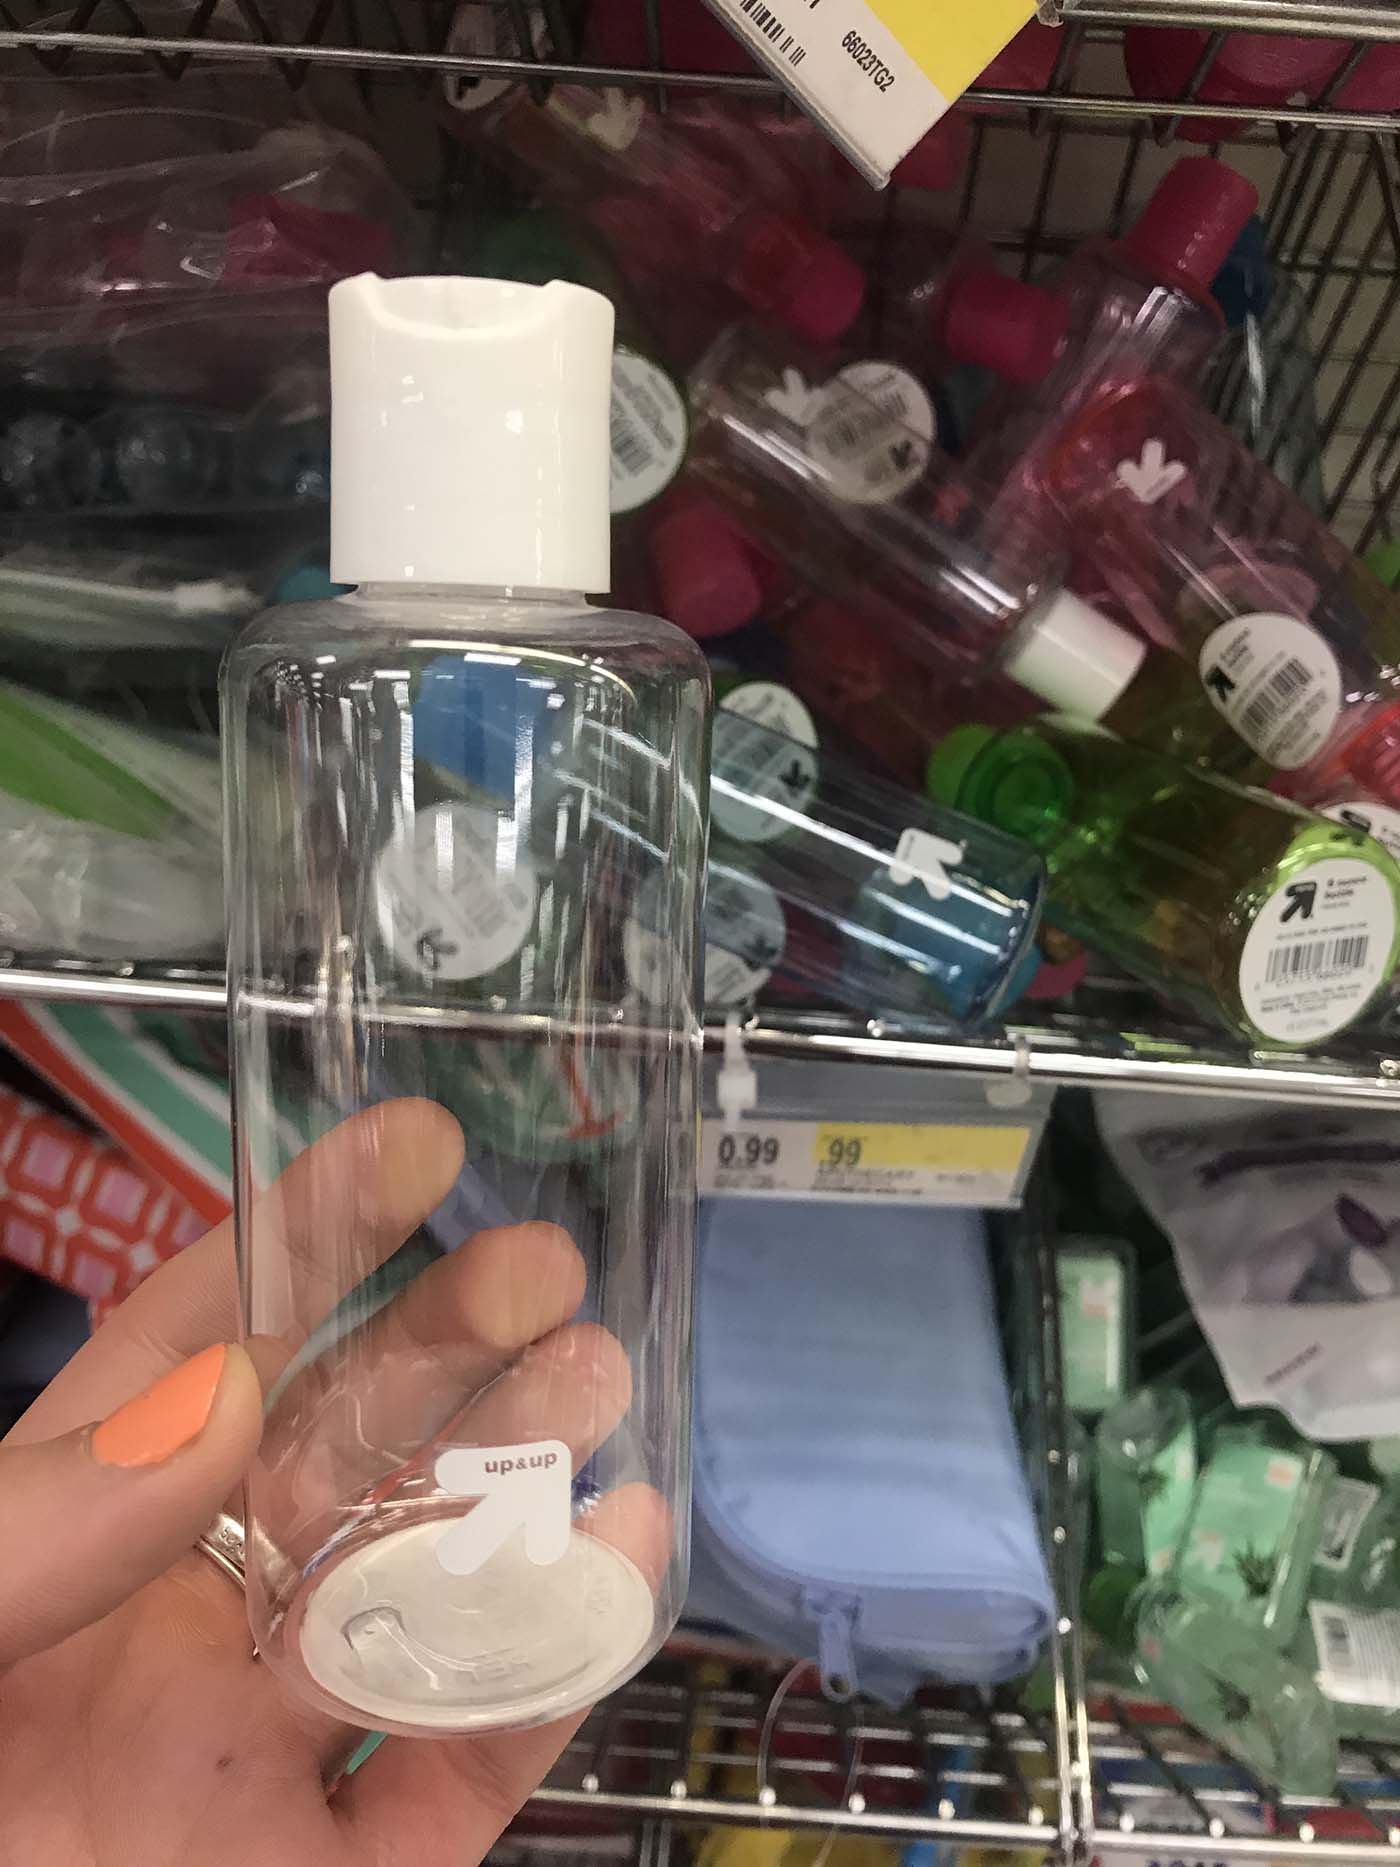
Total spend so far: $0.99
Step Two: Find organic raw apple cider vinegar.
Conveniently, Target had the exact brand that everyone on Pinterest seems to recommend. I picked up 32 ounces of Bragg Organic Apple Cider Vinegar for $6.29.
Raw apple cider vinegar is antiseptic and antibacterial, which helps if you are prone to blemishes. This ingredient helps balance the natural pH of the skin, exfoliates the skin by breaking up the bonds between dead skin cells and helps keep pores open (so it makes your moisturizer or other serums work better, which is the whole point of toner). It’s also great for removing excess oils and traces of makeup that your cleanser might have missed.
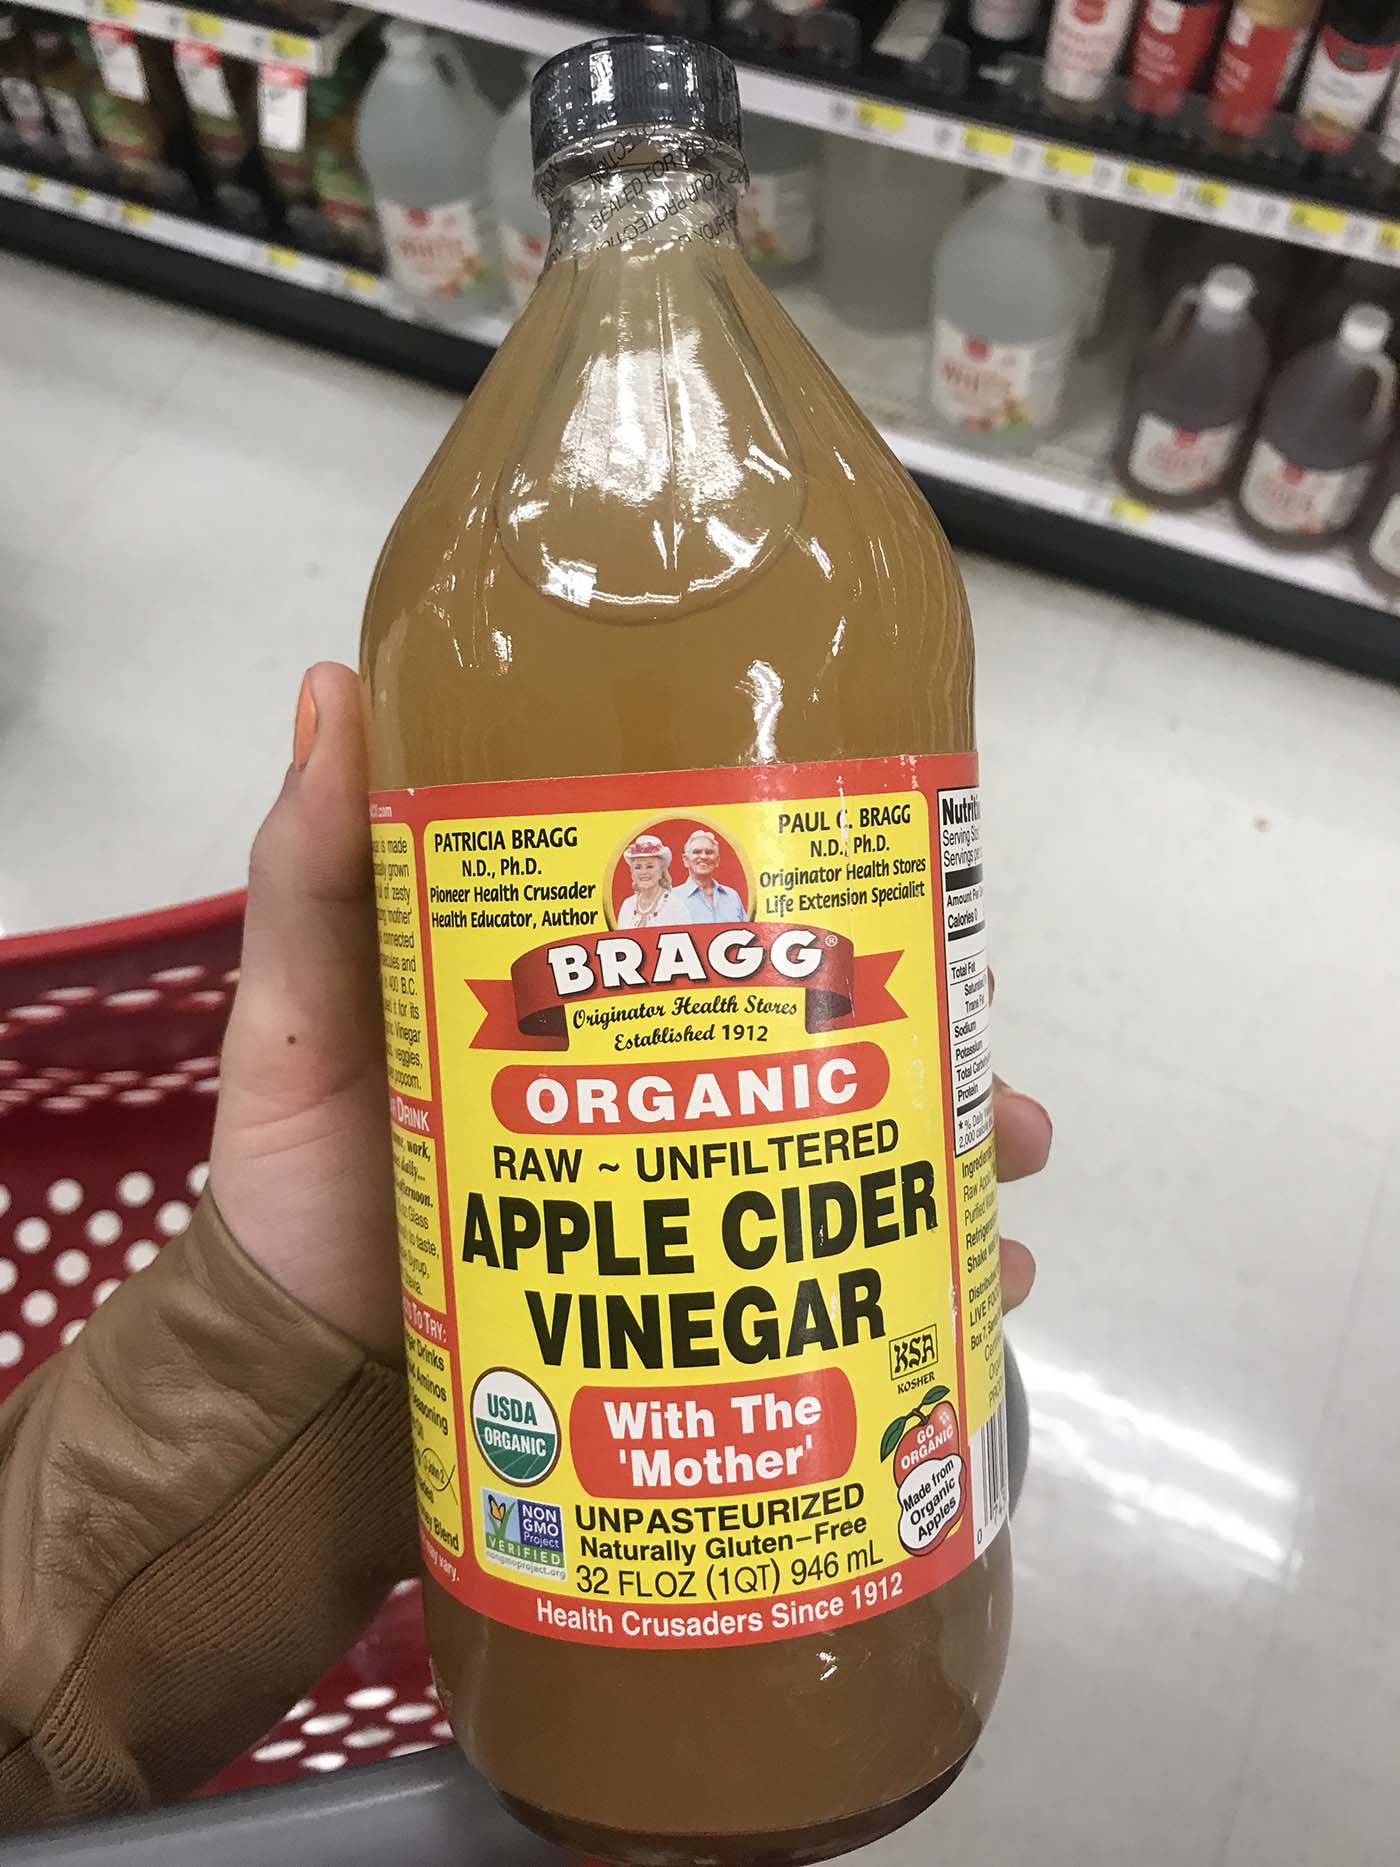
Total spend so far: $7.28
During my on-the-go Google efforts for DIY toner, plenty of people stopped here. You can make a great toner just using water and organic raw apple cider vinegar. For sensitive skin, you’ll want to use a little more water (1 part apple cider vinegar to 4 parts water). For oily skin, you can get away with closer to a 1 to 1 ratio, mixing the two ingredients half and half.
Step Three: Find witch hazel.
Since I was trying to dupe the S.W. Basics toner, I decided to keep going and search for witch hazel. Though I failed at finding the natural astringent in a more pure form, Target conveniently sells a toner made with 100% natural witch hazel. Dickinson’s Original Witch Hazel Pore Perfecting Toner comes in a 16 ounce bottle and sells for $4.49. Is it cheating because it’s already a toner? Maybe, but I was in a bind and it seemed like a good enough solution or me.
Witch hazel is a natural astringent (again, great for treating blemish-prone skin) that helps reduce inflammation, decreases oil and bacteria and helps balance the skin’s pH level for those with naturally oily skin. It has nourishing properties, so even if you have dry skin, this stuff won’t dry your skin out like many other chemical astringents will.
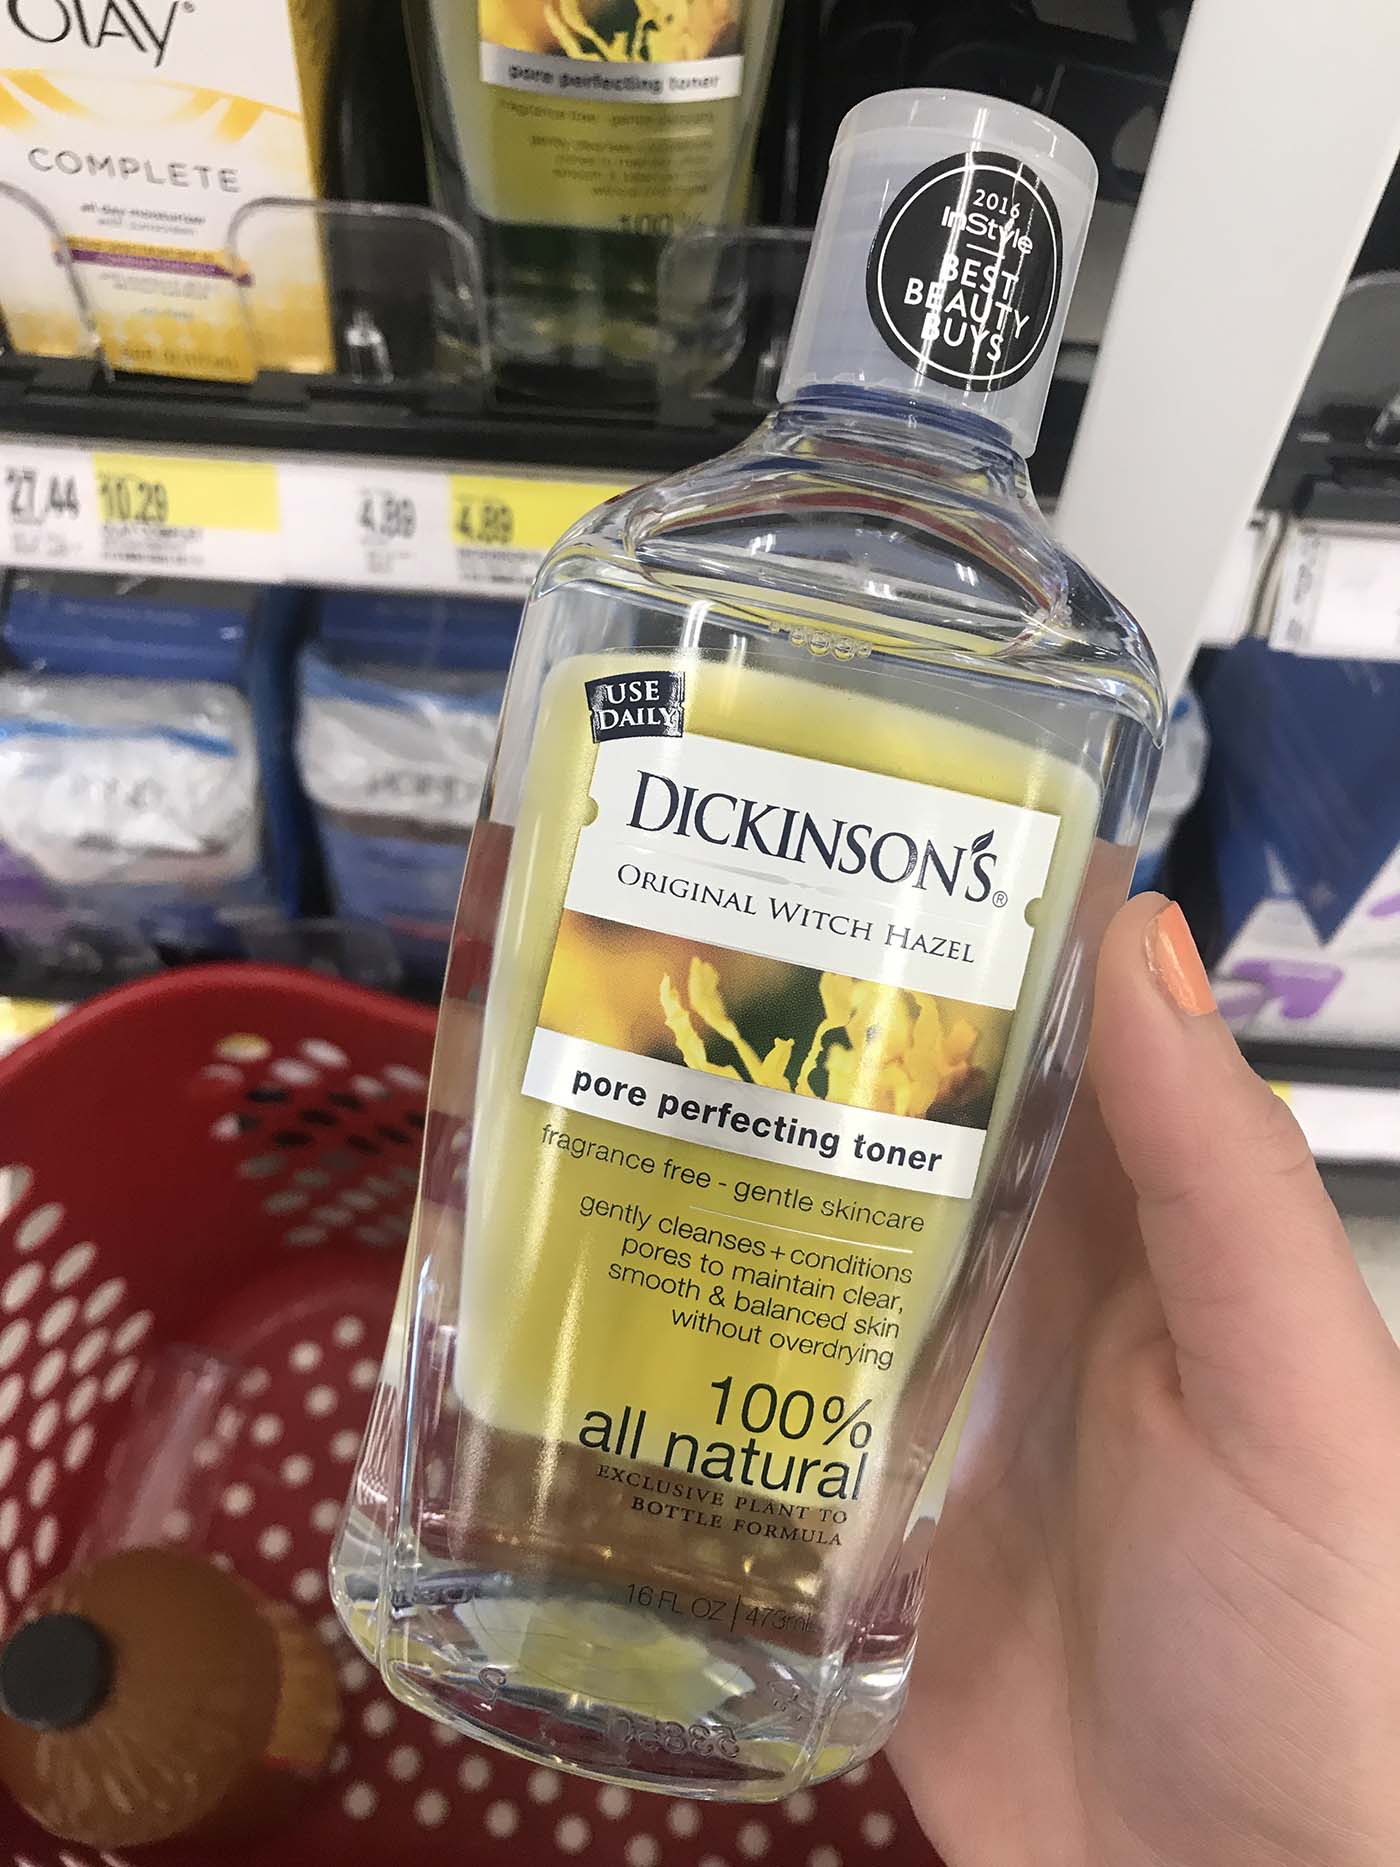
Total spend so far: $11.77
Having the major three of the four ingredients of the toner I was trying to dupe, I stopped here. However, if you wanted to add a few drops of essential oil to the mix, you could add lavender oil to help soothe the skin or tea tree oil to boost the effects against blemishes. If you’re feeling exceptionally crafty and independent, try making your own essential oils.
Step Four: Put it all together.
Here was my ending mix for my 6-ounce travel bottle (+2 more ounces than the normal toner I purchase!):
- 2 ounces of water
- 2 ounces of raw organic apple cider vinegar
- 2 ounces of the witch hazel toner
Not only was I spending half of what I would have spent for the toner, I had enough ingredients to make at least 12 times as much (making 4 ounces of my new toner cost 1/24th the price of what I used to buy).
Now here’s the real question: is it as good as the $22 version? So far, so good – but time will tell. I will probably mess with the ratios over time to figure out what works best for my skin, but this solution is natural and works for a fraction of the price.
Do you have any other DIY beauty treatments you swear by? Let us know in the comments!
2 thoughts on “Make This Natural DIY Toner – Your Skin and Wallet Will Thank You”
Comments are closed.


give me your extras!!
Come over with a bottle sometime, I have so much extra!