A Beginner’s Guide to Rowing
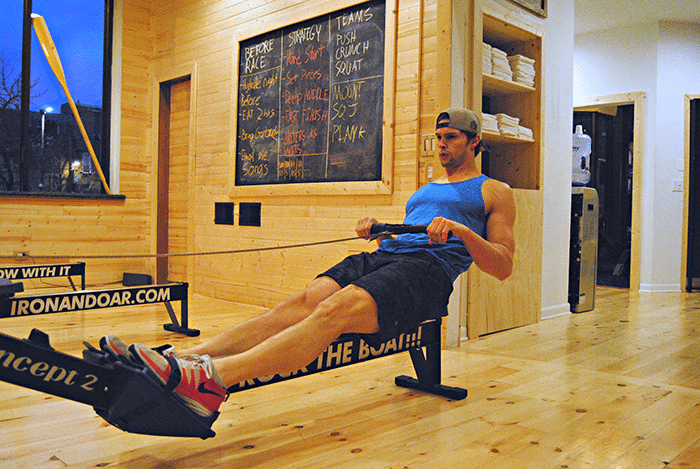
(Photo courtesy of Iron & Oar (c))
We all know that cardio should be a part of our regular exercise routine. The American College of Sports Medicine (ACSM), the leading organization for sports medicine and exercise science, recommends 30-60 minutes of moderate-intensity or 20-60 minutes of vigorous-intensity exercise three days a week.
Not only is cardio a great way to shed the extra pounds after the holidays, but it’s great for keeping your heart and lungs healthy. As the winter hits Chicago, and running and biking outdoors becomes a lot less appealing, it seems like the only option to hit that target heart rate zone is the treadmill or the spin bike. Personally, I’m not a huge fan of spinning and I can only get on the treadmill so many times a week before I need a change of pace.
Enter indoor rowing. Sometimes referred to as the “erg,” indoor rowing on the ergometer or rowing machine has long been used by crew teams trying to stay fit in the winter. Rowing studios are popping up across the country as a new form of aerobic exercise that is low impact and gets your heart pumping. “First and foremost, it’s a total body experience,” says James Erickson, trainer at Iron & Oar and former University of Minnesota rower. “You use around 85 percent of your muscles while on a rowing machine. It also takes a lot of stress off one’s mind because you don’t have to worry so much about targeting a specific area of the body. Now that’s total body: mental and physical.”
If you’re thinking about trying a rowing class but don’t know where to begin, here are some basic tips for what to expect from a rowing class. Plus, here’s how to use a rowing machine for beginners.
How to use a rowing machine for beginners
(Photo by Dani Liffmann)
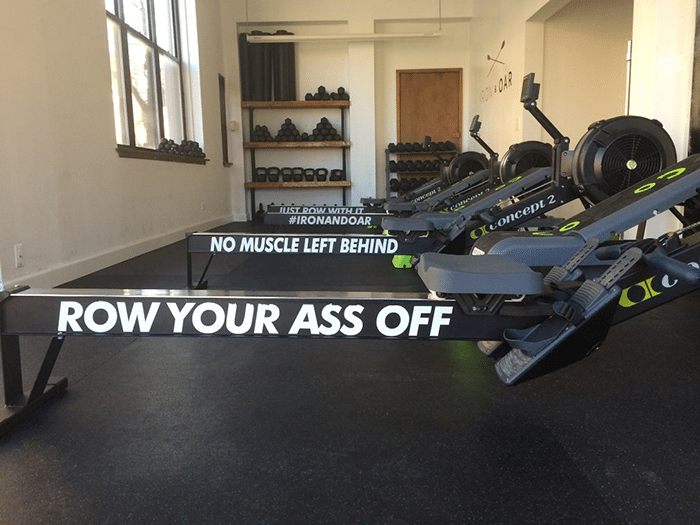
There are two main types of ergometers that you’ll find in most gyms. The first is an air or flywheel rowing machine, which has a wheel at the end with a fan inside. As you pull on the handle, you spin the wheel, using the air pushing against the fan blades for resistance. The most common air rower you will find is the Concept 2, which have a resistance knob called a damper on the fans to make it harder or easier to spin the fan. These are the most popular type of ergs because they create a natural, continuous and smooth rowing stroke, and are used for indoor rowing competitions such as the C.R.A.S.H.-B. Sprints World Indoor Rowing Championship.
The other rower you’ll likely encounter is the WaterRower. WaterRowers are wooden ergs with a flat water tank at the end with a fan inside. Instead of using air as resistance against the fan, you have to push water against the fan blades. They are intended to mimic rowing on a boat, using the density of water, rather than a damper, to allow you to apply resistance based on the speed at which you row. Because they don’t have a chain attached to the handle, they tend to be much quieter than air rowers and, coupled with the sound of the water in the tank, can actually be calming to listen to.
Setting up
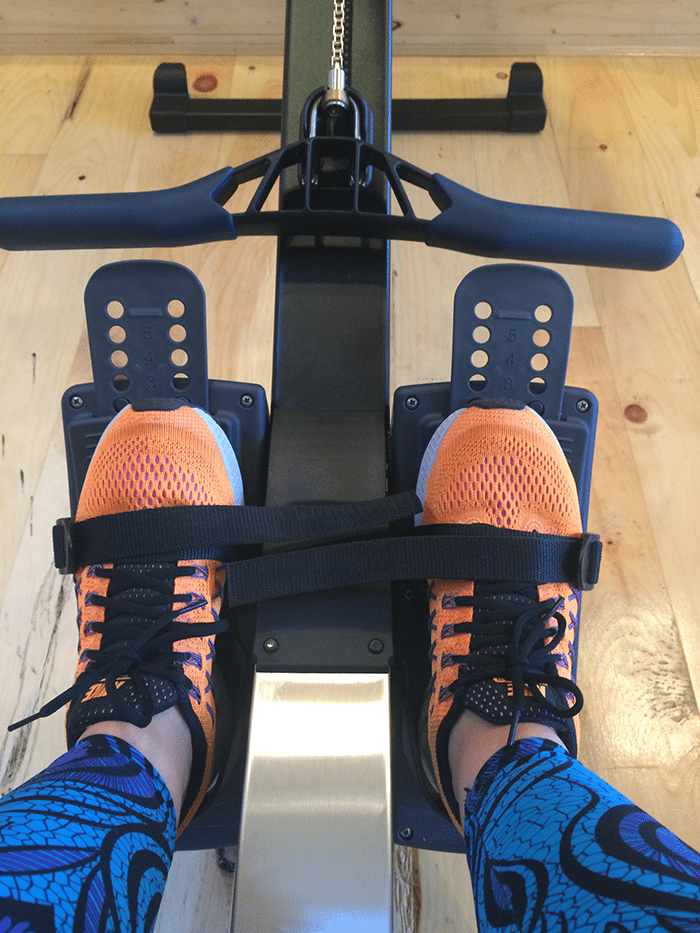
For most rowers, the set-up is pretty simple. The only thing you’ll need to adjust is the feet. The vertical pieces that hold your heel move up and down. Adjust them so that the strap hits just about the top of your shoelaces. Then, pull the strap as tight as you comfortably can across your shoes.
Form
I cannot stress this enough: FORM IS SO IMPORTANT IN ROWING! If you’re not rowing with the correct form, not only will you be inefficient, but you’ll probably start to feel back pain. As with any type of exercise, if you’re feeling pain, you should stop and ask your trainer to help you before continuing (also, talk to your doctor and make sure that the exercise is safe for you!). While I am a strong believer that the best way to learn is by getting to a gym where a trainer can watch you and help you modify your form, there are some easy tips to think about when you’re getting on the rower.
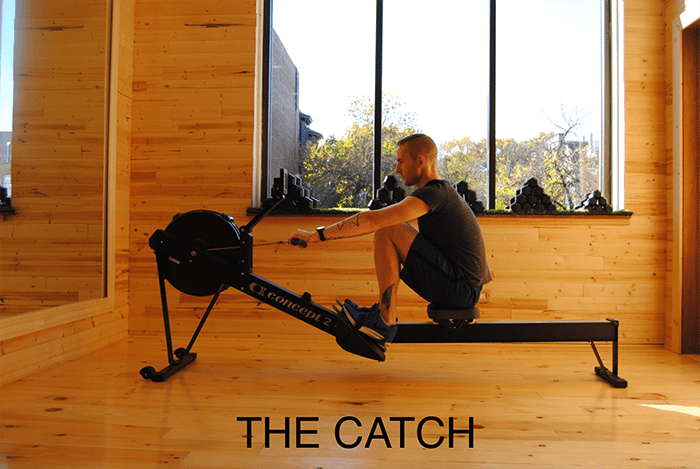
(Photo courtesy of Iron & Oar (c))
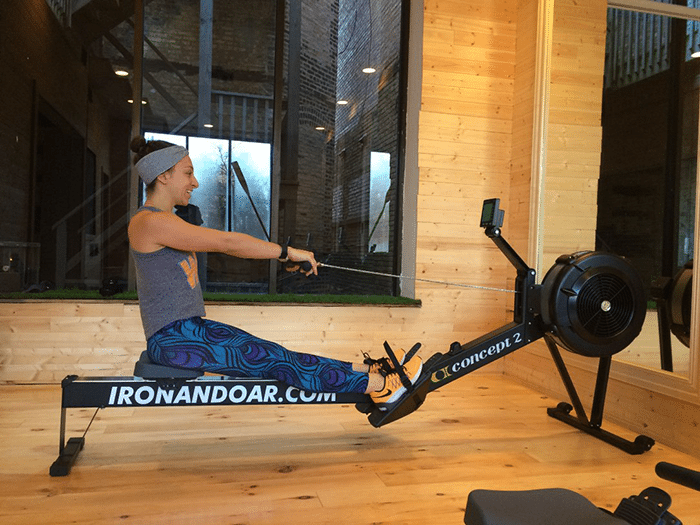
The starting position is called the “catch”. If you were in the water, the catch is where the oar would reenter the water and “catch” it for the next stroke. On the erg, when you’re in the catch, your shins should be perpendicular to the ground, your seat should come in close to your heels and your arms should be reaching forward.
(Photos by Dan Hicks)
In each stroke, most of the power (about 60 percent) should come from your legs. When you’re moving backwards, first think about driving backwards through your feet. If it’s your first time on a rower, practice rowing with just your legs (keeping your arms and back straight). This will help you understand the feeling of using your legs for most of your power.

Once you’ve got that down, add in the arms to give your stroke the next 20% of its power. Push all the way back until your legs are straight, then use your arms to pull the handle straight in just above your belly button. The handle should move in a straight line (not coming up to get over bent knees!) for the most efficient stroke. Keep your shoulders down and pull directly back, pinching your shoulder blades together.
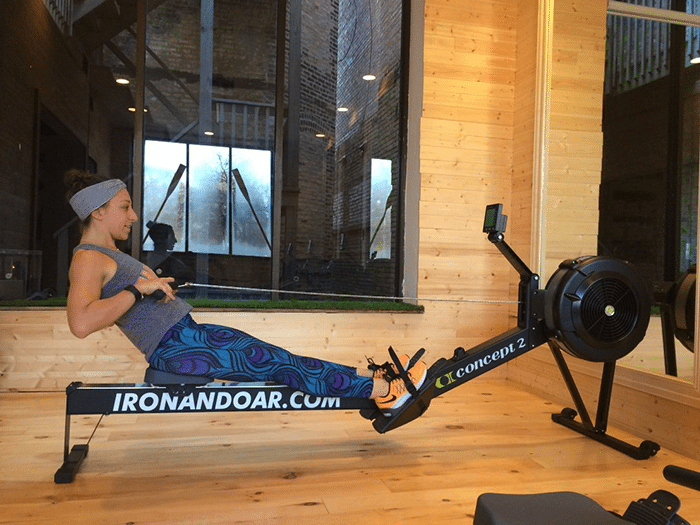
After that, add in your core. With your straight legs and handle to your stomach, lean back just a bit (maybe 30 degrees) to get the final 20 percent of your power. Don’t underestimate the importance of your core in rowing.
On the way back out, go in the reverse order. First, hinge forward to upright. Then, punch your arms out straight. Once your hands pass your knees, then bend your knees back in and reach forward over the rower. Then, you’re ready to start over with your next stroke.
It sounds a bit complicated, but once you get the timing right, it will become second nature. Just always remember LEGS, CORE, ARMS; ARMS, CORE, LEGS, and thinking about never letting your hands pass over bent knees and quickly you’ll get into a rhythm. “One of my favorite parts of rowing is how systematic it is,” says Erickson, “Because it’s important to really focus on the mechanics of the stroke you wind up working on better posture. When you get comfortable with proper posture you ultimately create healthier muscle relationships, better circulation and more effective exercise. Not to mention your rowing will start to show positive results.”
Measuring Success
When you hop on the treadmill, you know that a combination of your speed and incline are the key to understanding difficulty. When you sit down on the rower, the screen will have some similar numbers that you can use to understand how hard you’re working.
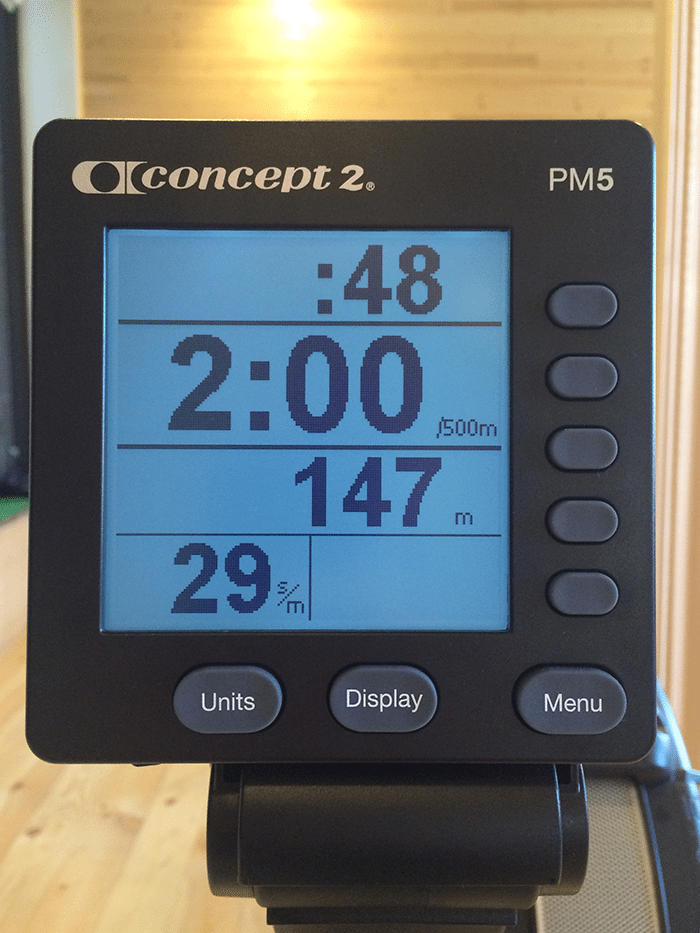
Stroke Rate. Think of the stroke rate like your speed. It indicates how quickly you’re moving back and forth on the rower. On the Concept2, you’ll find the stroke rate on the bottom left corner of the screen. On the WaterRower, it will be either in the top left corner or in big numbers on the left half of the screen. Typically when you’re training, this number will be between 18-40 strokes per minute (SPM). However, where increasing speed on the treadmill can mean you’re becoming a better runner, the key to improving in rowing is to have consistency in your stroke rate, similar to a cadence in indoor cycling. When you’re first learning to row, practice holding your stroke rate at different SPMs for a minute at a time. Start low (20 SPM) and every minute try to increase by 2 SPM and see if you can stay right in that zone. Once you learn to maintain your stroke rate, you can try to figure out which is the most efficient for you at different distances.
(Photo by Dani Liffmann)
Your 500-meter pace. Sometimes called your “split time,” your 500-meter pace is like the “power” measurement in indoor cycling. It’s meant to replicate how long it would take you to move a crew boat 500 meters if you were rowing on the water. The 500-meter pace is dictated by force: the harder you work, the lower your 500-meter pace will be. I’ve seen a lot of people get on the rower and try to pull the handle as quickly as possible to maximize their stroke rate, but the most efficient rowers will keep a steady stroke rate where they are comfortable and maximize the power they use to pull the handle from the front of the machine to the back at that stroke rate. Just as you try to have even split times for every mile when you’re running a race, you should aim to keep your 500-meter pace consistent throughout your row. A great pace to aim for is 2:00, though you’ll likely be a bit faster for shorter rows (50, 100, or 200 meters) and a bit slower for longer ones (500, 1,000 or 2,000 meters).
Where can I try it?
If you’re in Chicago, there are tons of options for rowing on both the Concept2 and the WaterRower!
(2933 N Halsted St) offers classes on the Concept2 for those new to rowing to learn the basic form, as well as more advanced classes as you progress. Their instructors have indoor rowing certifications and some of them were collegiate crew team members, so they are fantastic at helping you improve your form and your time. The signature Iron & Oar class is a great combination of rowing and circuit training with kettlebells and dumbells, while the Ergonomics class allows you to time yourself at set distances and watch yourself improve. For those that love the team environment, Crew lets you pair two rowers together and work with others in a team competition!
(525 West North Ave) was the first all-rowing studio in Chicago offering classes on the WaterRowers. Located in the basement of Go Cycle, they offer a range of classes like the signature GO Row, which alternates between the rower and floor exercises with dumbells and kettlebells, and GO All Row, with longer intervals of rowing alternated with core exercises on the floor. My favorite part of Go Row is that they are laser focused on making sure your form is right. During the first few rows, the instructors walk around and provide one-on-one attention to help you tweak your form and avoid injury. It’s a great place to learn rowing technique and also get a tough workout.
(3400 N Rockwell St) is a boathouse offering erg classes on the Concept2, as well as an opportunity to get out on the water! Their qualification class is a 30-minute breakdown during which those who’ve never been on a rower can sit down with a staff member and learn how to use the erg properly and safely. Once you’ve got it down, they offer a Cardio Row class on Mondays, Wednesdays, and Fridays at 8 am for only $10 per class. Starting in January, they’ll also be offering a Learn to Row in a Tank class, which teaches you sweep rowing on a crew boat using their state-of-the-art indoor rowing tank. Once the weather warms up, be sure to check out their Learn to Row program and drop-in Classes out on the water!
(648 N Clark Street) recently opened in River North and brought the WaterRower into all of their HIIT classes. You’ll spend a third of your time on the rower, while spending the other two thirds on the floor with free weights and the treadmill. If you’re just learning, check out a class with Dustin – he’s an expert rowing instructor and great at helping you nail your form.
(1101 W Monroe and 1755 N Damen), one of our favorite spots in Chicago, started offering rowing classes this fall when they added WaterRowers to their studios. They offer interval rowing classes, as well as RowX, which uses the same format as their TredX and CycleX classes, alternating between the rower and exercises on the floor using body weight or free weights. Check out their schedule to find a time that fits your needs.
(multiple locations nationwide) has a range of classes that use the WaterRower to get your heart pumping. Their Shockwave class offers great motivation: six rowers are set up in the middle of the room and six other stations are set up using free weights or other equipment. The instructor will set a distance for the rowers, and everyone has to keep moving at the other stations until all six rowers have hit that distance. The camaraderie and competition are sure you push you to your max! Other rowing classes at Equinox include IndoRow, where you’ll work in teams, partners or as a whole crew to complete a race, and Ropes and Rowers, which mixes the WaterRower with battle ropes for a full body circuit.
(Thanks to our friends at Iron & Oar for contributing photos and quotes, as well as letting us use their rowers for this post!)
Have you ever tried rowing? Where is your favorite place to row?
1 thought on “A Beginner’s Guide to Rowing”
Comments are closed.


The sequencing described in this article is incorrect. Proper form would entail driving with the LEGS, opening the hips (CORE), then finishing with the ARMS, and the opposite on the recovery, not LEGS then ARMS then CORE last (if that makes any sense). There are lots of videos of good technique on Youtube to research more about good erg technique.