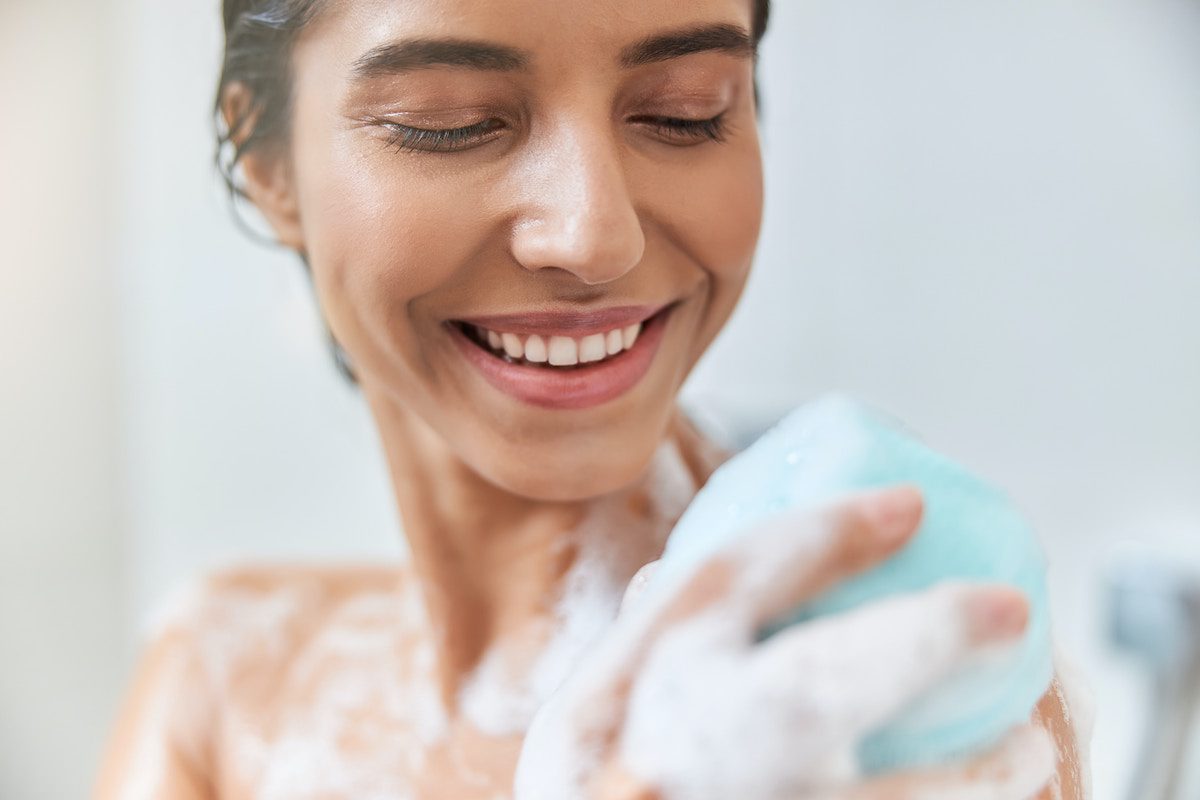
The Ultimate At-Home Manicure Guide
It’s been a year since the coronavirus pandemic began, and I don’t feel comfortable going back to a nail salon yet. The thing is, I’m not very skilled at painting my nails myself, especially when it comes to using my non-dominant left hand to paint my right hand. I inevitably end up with messy-looking nails. Then there’s the fact that my at-home manicures always seem to chip the very next day.
Naturally, I was super-excited when I saw there was a mani master class with Olive & June on the schedule for this year’s #Sweatworking Summit because boy, did I need help. And it wouldn’t be an understatement to say that my mind was actually blown by some of the tips the Olive & June team shared during the class.
I’ve been putting everything I learned to good use over the last few weeks, and I’m happy to report my polish painting skills have definitely improved.
So what exactly is the magical advice that’s helped me up my at-home mani game? I recently chatted with Olivia Van Iderstine, director of content and community for Olive & June, to get her best at-home manicure advice on the record.
1. Arm yourself with the right tools.
First things first: Make sure you have everything you need for a successful at-home manicure, says Van Iderstine. That includes nail clippers, a nail filer, a nail buffer, nail polish remover, cuticle serum, a clean-up brush, and a top coat. Yep, that’s a lot of products, so make things easy on yourself by buying a kit that contains them all. You can find all of these in Olive & June’s Mani System.
2. Shape your nails slowly.
“Shaping your nails is like trimming your own bangs—you can’t really add length back once you clip it off,” says Van Iderstine. She suggests making super-tiny clips with your nail clipper versus larger ones. Follow the 90/10 rule: “Clip 90% of the way into the desired shape, file the last 10%,” she says. “This makes it way easier to shape.”
Another piece of advice? Do your shaping with your old polish on. This makes it easier to see your final shape, says Van Iderstine.
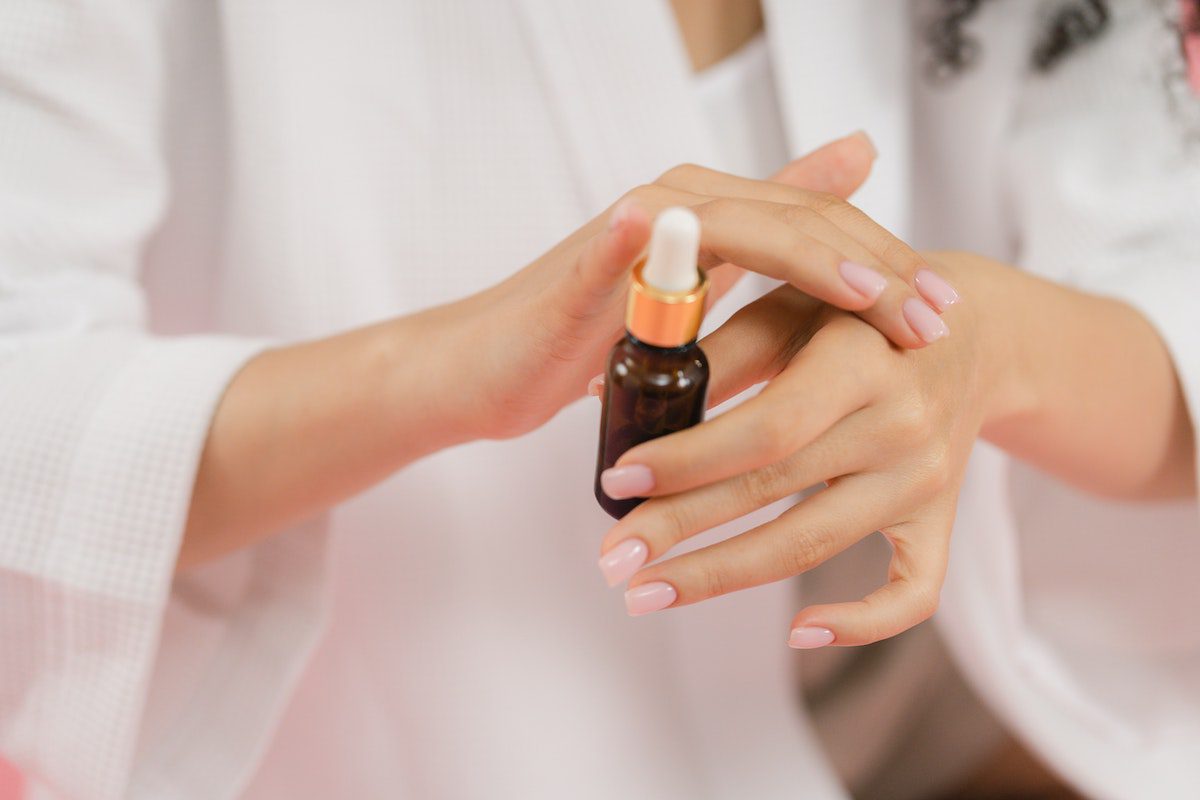
3. Treat your cuticles gently.
Step away from the cuticle cutter. “The secret to perfect cuticles is to put down that cuticle nipper and hydrate, hydrate, hydrate,” says Van Iderstine. “Gently pushing back your cuticles and then buffing them slightly will teach your cuticles to fall in line over time.” She recommends applying Olive & June’s Cuticle Serum two to three times a day for perfect cuticles.
4. Skip the pre-manicure soak.
You know how at the salon, you’ll soak your hands in a bowl of water before the manicurist applies polish? You’re going to want to skip that step. Here’s why: “Water makes your nail plate expand, which can make your gorgeous polish chip off after,” explains Van Iderstine. “Keep everything nice and dry.” Right before you apply polish, give your nails one final swipe of nail polish remover. That’s it.
5. Reconsider your base coat.
While every brand is different, Van Iderstine notes that Van Olive & June polishees have a built-in base coat in the formula so you can also skip this step. In most cases, you can get away without using a base coat if you’re painting your nails a light color. For darker shades, consider applying a nail primer first to prevent staining.
6. Choose your color wisely.
If you’re an at-home manicure novice, choose a color that’s easy to use. “Sheers, metallics, and glitters are the best choice for beginners,” says Van Iderstine. “They’re super-forgiving, it’s harder to tell when you make a mistake, and you can get away with only one coat if you want.”
My go-to goof-proof sheer, which I was lucky enough to get a sample of at the Sweatworking Summit, is Olive & June’s CCT.
7. Paint your nails on a stable surface.
The secret to a neat, even manicure is working on a stable surface that you can rest your elbows on, says Van Iderstine. “Use that stability to your advantage,” she says.
Van Iderstine also suggests painting slowly and using a tool like Olive & June’s Poppy, a universal polish bottle handle to give yourself a comfortable grip and reduce shaking. This tool is particularly useful when painting with your non-dominant hand.
8. Finish with a thin layer of top coat.
“Top coat is the key to that super-glossy, glass-like shine that we all love,” says Van Iderstine. But that doesn’t mean you should glop it on to your nails. “Always finish your mani with a thin coat of top coat,” says Van Iderstine. “Don’t be tempted to go too thick or else it will bubble.”
Reapply top coat on day two or three of your manicure to make it look brand new all over again, adds Van Iderstine.